Installing kitchen cabinets may seem like a daunting task, but with the right tools and some basic knowledge, you can do it yourself. Not only will you save money by doing it yourself, but you’ll also have the satisfaction of knowing that you accomplished a significant home improvement task. In this article, we will walk you through the process on how to install your kitchen cabinets with a step-by-step guide.
Materials Needed:
- Cabinets
- Measuring tape
- Level
- Stud finder
- Screws
- Drill
- Shims
- Cabinet screws
- Cabinet mounting rails (if necessary)
Step 1. Measure and Plan
Measure the height and width of the area where you want to install the cabinets.
Make sure to measure from the highest point of the floor to the ceiling and from wall to wall.
Step 2. Locate and Mark Studs
Use a stud finder to locate the studs in the wall where the cabinets will be mounted.
Mark the locations of the studs with a pencil.
Step 3. Install Cabinet Mounting Rails, If Necessary
These rails are attached to the wall and provide support for the cabinets.
Follow the manufacturer’s instructions to install them.
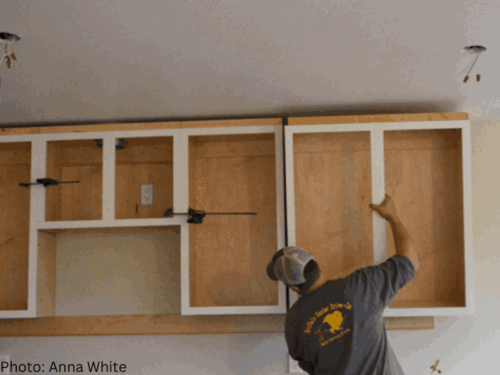
Step 4. Install Upper Cabinets
Use a level to draw a horizontal line at the desired height for the bottom of the cabinets.
Have a helper hold the cabinet in place while you attach it to the wall with screws.
Make sure to use shims to level the cabinet and adjust the doors if necessary.
Step 5. Install Lower Cabinets
Use shims to level the cabinets and attach them to the wall with screws.
Double-check that the cabinets are level and plumb before moving on to the next step.
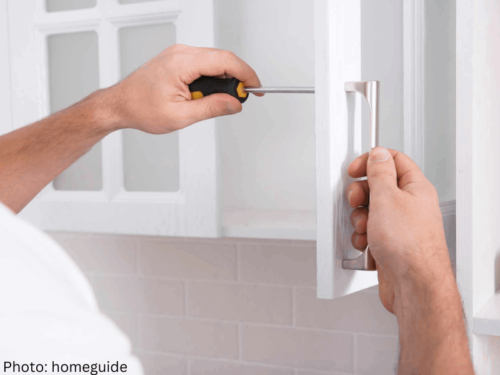
Step 6. Install Cabinet Doors and Drawers
Follow the manufacturer’s instructions to install the hinges and handles.
Attach the hinges, handles, or knobs, making sure they are aligned and functioning correctly.
Take your time with this step to achieve the desired aesthetic appeal and functionality of your cabinets.
Step 7. Install Countertop
Follow the manufacturer’s instructions to install the countertop.
Whether it’s a pre-cut or custom countertop, ensure it fits securely and is properly supported.
Seek assistance if needed, as countertops can be heavy and require precise placement.
Step 8. Finishing Touches
Finish with any additional trim work, such as crown molding, to give your cabinets a polished look.
Measure, cut, and install the molding carefully to enhance the visual appeal of your cabinets.
To conclude, by following this step-by-step guide, you can confidently install kitchen cabinets and transform your kitchen space. Remember to measure accurately, locate studs for secure mounting, and take your time during installation. With the right approach and careful execution, you’ll achieve beautiful, functional cabinets that will enhance the overall aesthetics and efficiency of your kitchen.
Now, enjoy your new cabinets and the satisfaction of a job well done!
Check out Kitchen Cabinet Hardware: Choosing the Right Style and Finish for more inspirational ideas.
About Us:
Founded in 2017, Satin and Slate is one of the elite interior design studios in Southern California. Located in Long Beach, this dedicated team of designers oversees from kitchen and bathroom renovations to commercial projects. Equipped with their own showroom/studio they can satisfy the needs of any client. Featuring clean lines, bright colors and fresh ideas Satin and Slate’s mission is to bring your vision to life and help transform your space into something extraordinary.


 Satin and Slate Interiors
 Satin and Slate Interiors